


This post may contain affiliate links for which I earn a small commission at no extra cost to you. For more info, check out my Disclosure Policy. Thank you for your support!
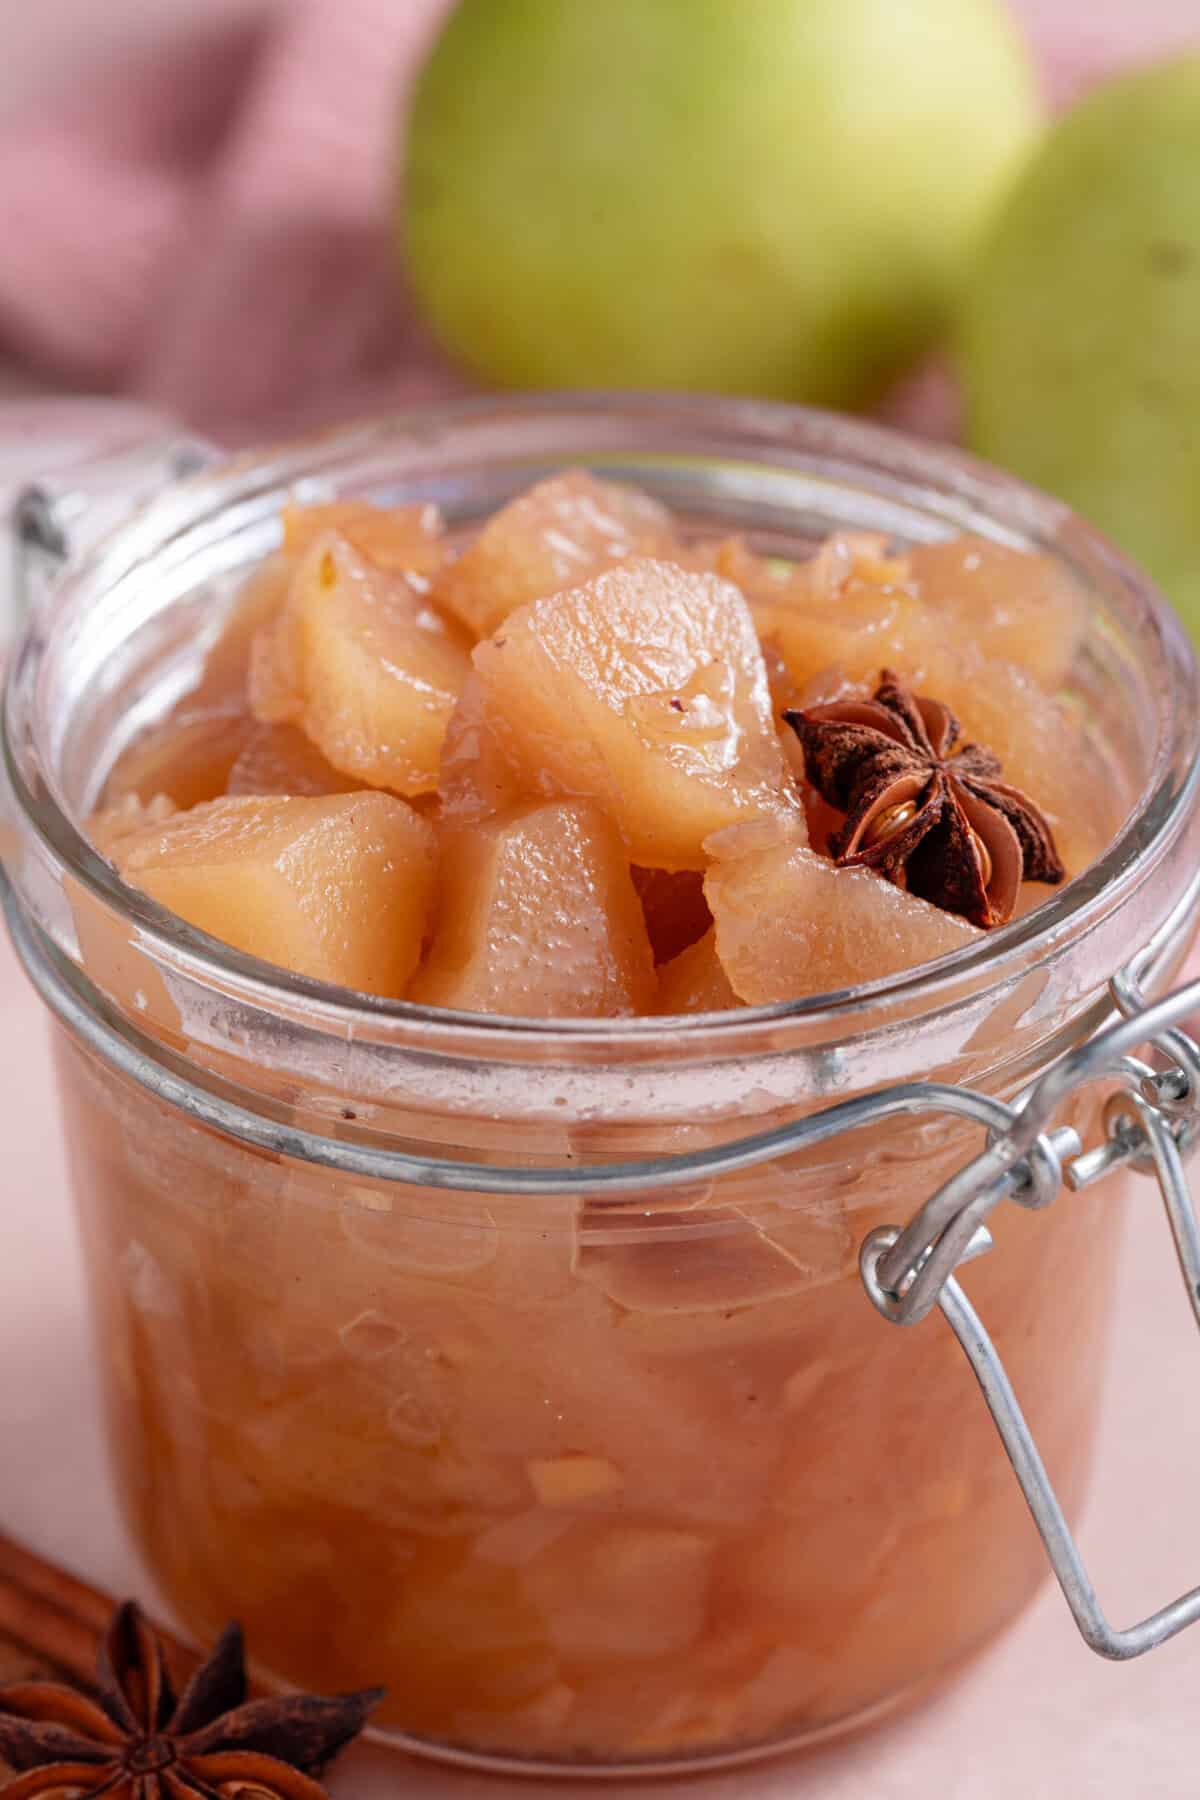
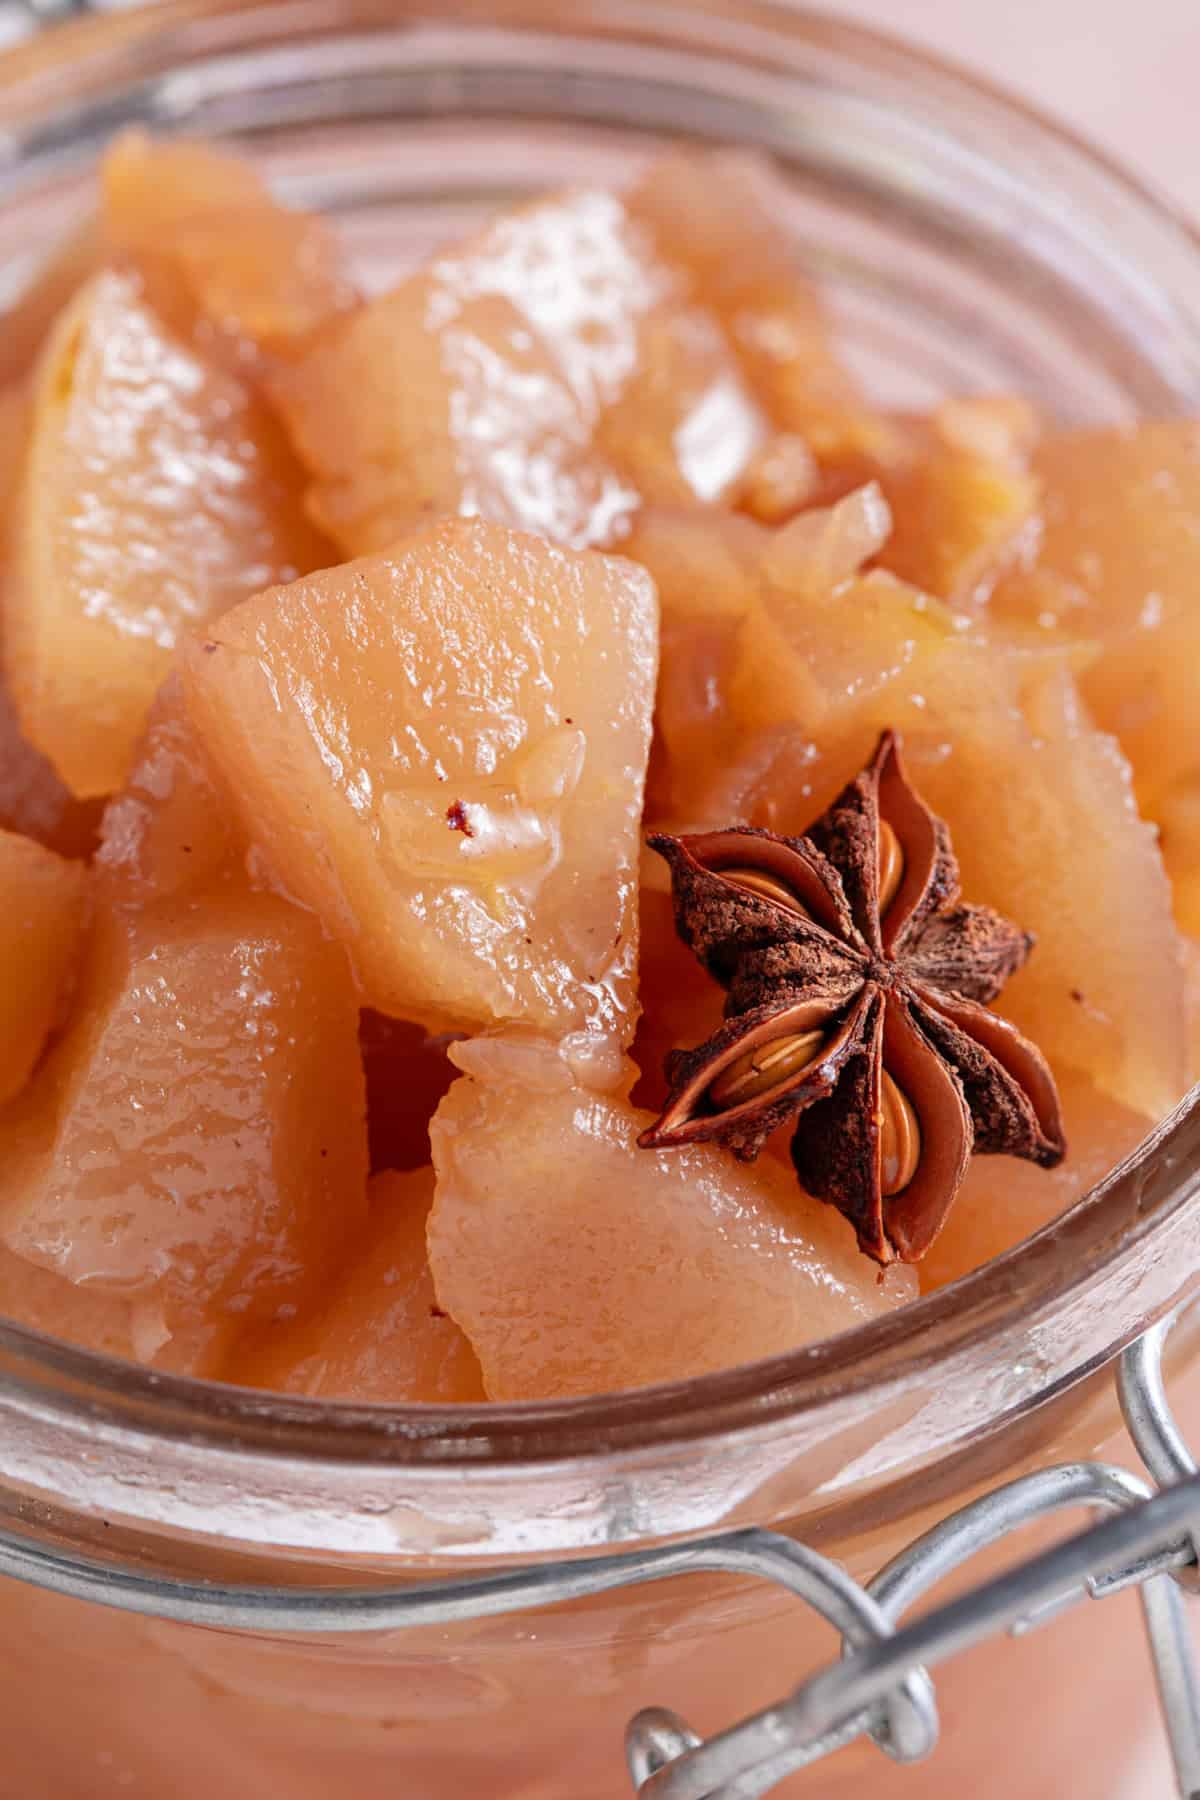
This easy Pear Chutney is sweet, fruit and mildly spiced, ready in 30 minutes. It’s tangy and fruity with warming autumn flavours of cinnamon, star anise, ginger and nutmeg. Perfect as a homemade gift or for the cheeseboard!
This Easy Pear Chutney is SO Delicious!
- Why choose this recipe? Making pear chutney is the perfect autumn cooking project. It’s great for using up a glut of pears, perfect for homemade gifts and easily gluten and dairy free. This chutney pairs so well with cheeses, curries, cold meats and more!
- Top Tip: Instead of splashing out on Kilner jars (though they are beautiful!) you can just collect empty jam jars, wash them thoroughly and sterilise them in the oven or dishwasher. Simple!
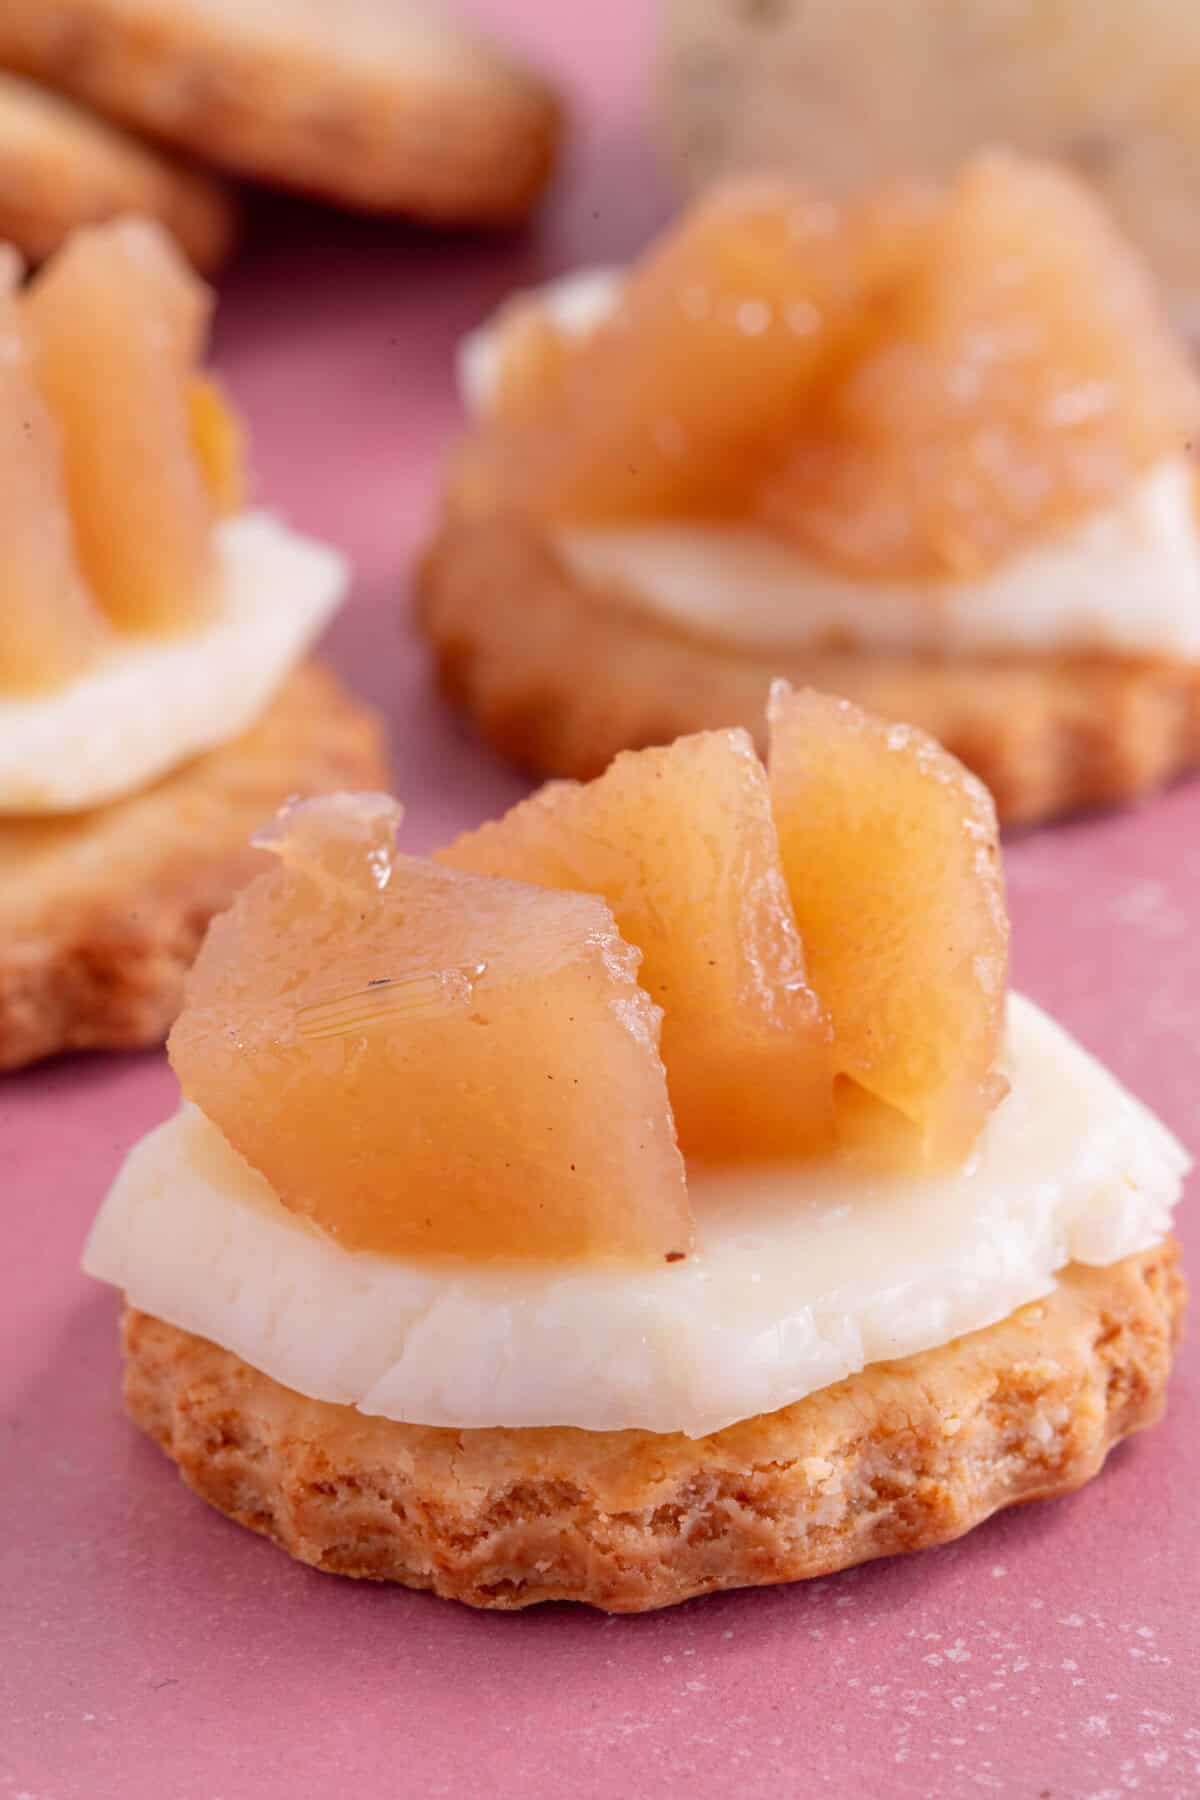
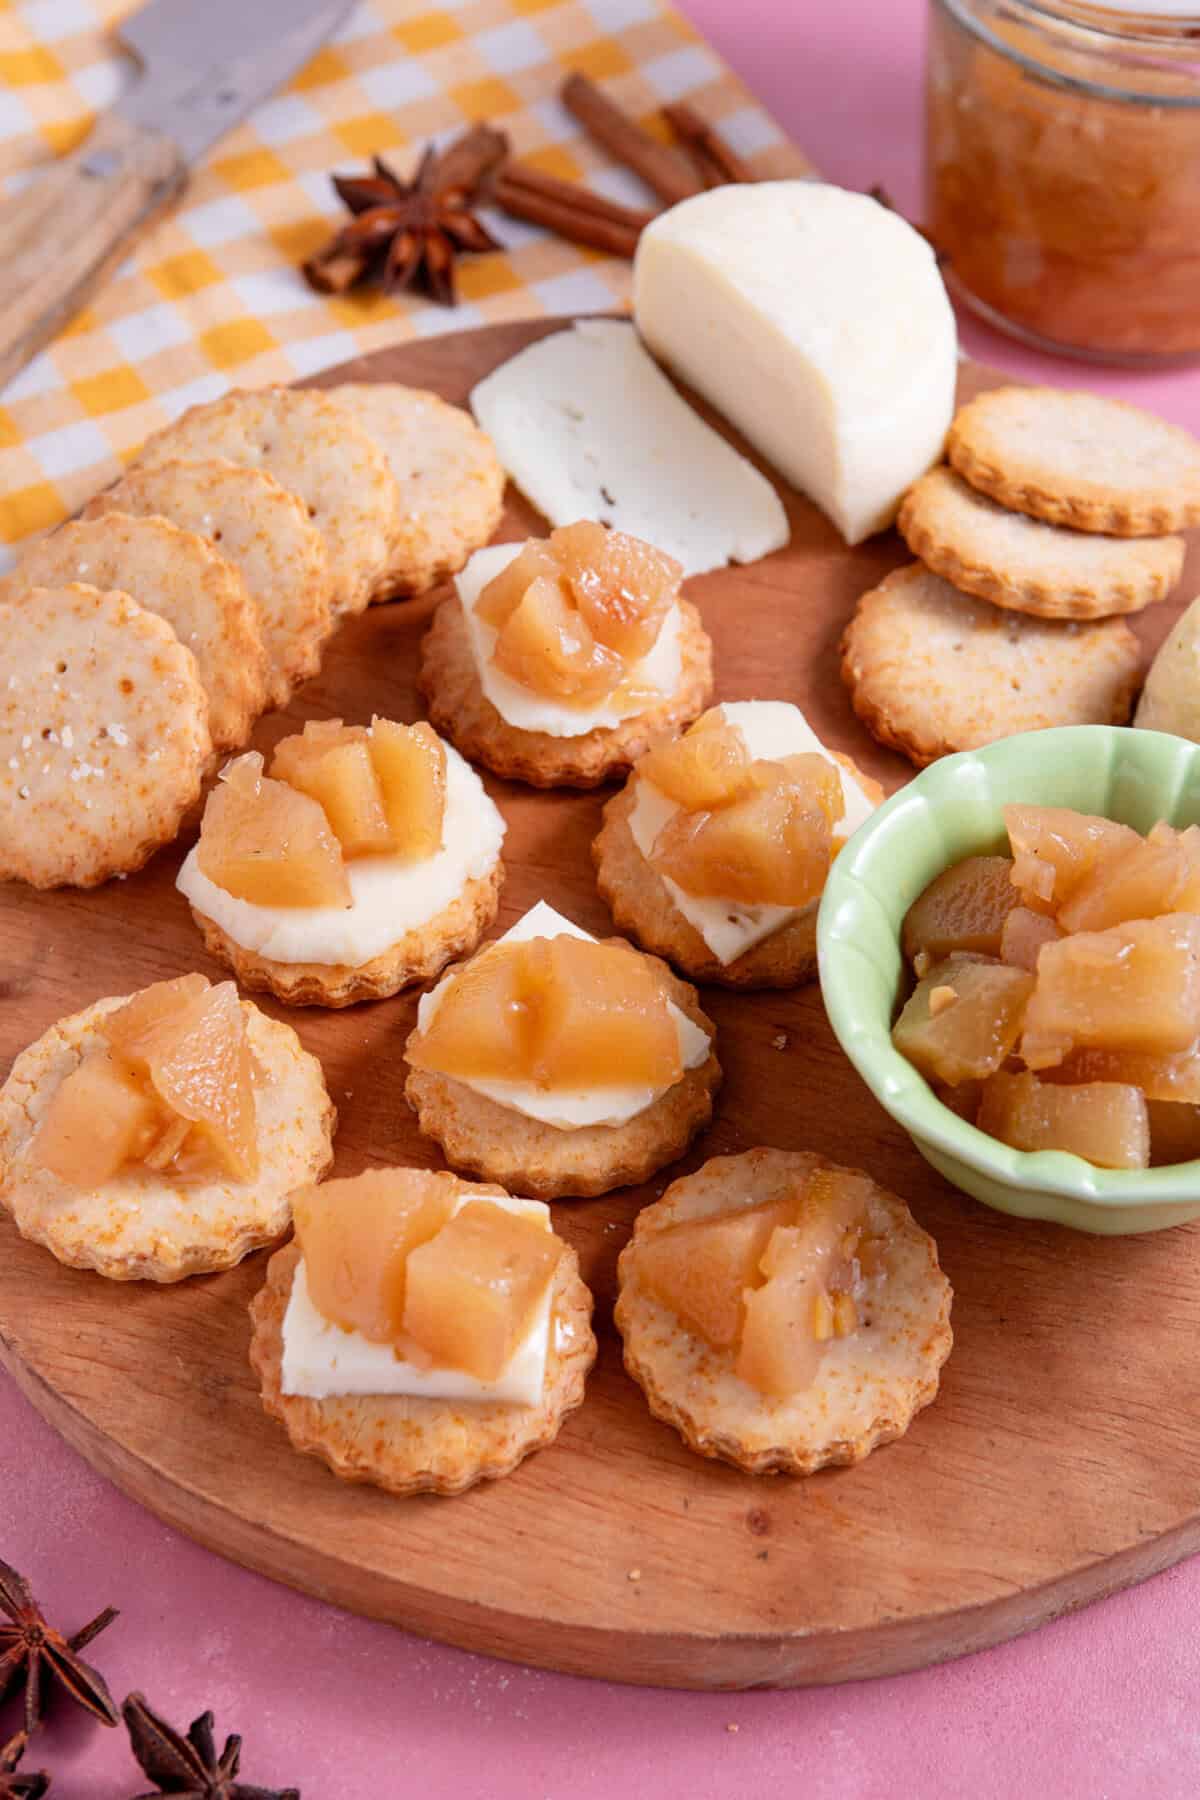
- Serving Suggestions: Serve a jar of my homemade pear chutney with gluten free Ritz crackers or gluten free breadsticks as part of a cheeseboard. Or make it into a tasty ploughmans with ham, cheese and gluten free baguettes. This would also be delicious in gluten free sausage rolls too!
Ingredients and Substitutions
There’s a printable recipe card below for this easy homemade pear chutney recipe with the full quantities. But here are the main ingredients and ideas for any swaps.
- Pears: Any kind of pear will work, I have tested this recipe with a couple of different types and they all work well. You could also swap the pears for apples, or a 50/50 split between apples and pears.
- Aromatics: I used onion, garlic and ginger in this chutney for maximum flavour.
- Apple Cider Vinegar: You could swap this for red wine vinegar for a darker coloured chutney, or white wine vinegar. All are gluten free – see my gluten free vinegar guide.
- Sugar: Brown sugar works best. You could use demerera sugar if you prefer.
- Lemon Juice: This actually helps the chutney to set a little as it cools.
- Spices: I use whole spices and remove them before jarring the chutney. This recipe uses star anise and cinnamon – and a little ground nutmeg too. Cloves would be a nice addition too if you wanted some extra spice.
How to Make Pear Chutney
There’s a printable recipe card below with the method. But here are some step-by-step photos to show you how easy this pear chutney is to make. It’s really very simple!
Frequently Asked Questions
Here are some FAQs about this easy pear chutney recipe. If you can’t find the answer to your question here or in the post above, please comment and I’ll try answer!
To sterilise jam jars, you can either run them through the dishwasher, or wash in hot soapy water then place the wet, upside-down jars on a baking tray in the oven at around 160C (140C Fan / Gas Mark 3 / 320F) for 15 minutes. You can also boil the jam jars in a pan of water. If using any of these methods, make sure you put the chutney into the jar while it’s still hot to avoid it smashing!
Of course! Simply swap half the amount of pears for peeled, cored and chopped apples and follow the recipe exactly the same way. Make sure the apples and pears are cut into similar-sized chunks so they cook evenly.
Once sealed in jars, this pear chutney can be stored at room temperature for a couple of months. Once opened, I recommend keeping this pear chutney in the fridge and using within 3-4 weeks.
Serving Suggestions
If you like this easy pear chutney recipe and you want some ideas for how to use it, here are some other gluten free recipes it’ll pair (geddit?) really well with…
Have you tried this recipe?
I have a huge favour to ask! It’s getting more and more difficult to get my recipes out there to the world – so if you try this and love it, it would mean a HUGE amount if you’d come back and leave a ⭐️⭐️⭐️⭐️⭐️ review and a little comment telling me what you thought! Just 30 seconds of your time would be such a huge support! 💛
Want to connect further?
Prevent your screen from going dark
Add the olive oil to a pan and place on a low heat. Add the onion, garlic and ginger and fry gently for 4-5 minutes to soften.
Add the pears, vinegar, sugar, lemon juice, whole star anise, cinnamon stick and nutmeg and stir well.
Bring to a boil then simmer with the lid off for 20-25 mins, stirring occasionally, until almost all of the liquid has evaporated.
While still hot, spoon into a sterilised jar and shut – the heat will seal the jar as it cools. Use within 3 months and once opened, keep in the fridge and use within 4 weeks. (I remove the spices but you can keep them in there to release more flavour if you prefer).
- Sizing Up: If you want to make a big batch of this recipe you can easily use the 2X and 3X toggles on the recipe card above to increase the ingredient quantities. That way you can make multiple jars!
- Storage: This pear chutney will keep in sealed jars for several months. Once opened keep in the fridge and use within 3-4 weeks.
- Weighing Scales vs Cups: You can toggle this recipe card to convert the ingredients into cups. However, I always recommend using weighing scales – these are cheap to buy and much more accurate. And in gluten free baking, a tiny variation can make a huge difference!
- Like this Recipe? It would mean SO much to me if you could leave a 5* rating and a little review all about this Gluten Free Pear Crumble! It really helps get my website out there to everyone who needs it! Thank you xx
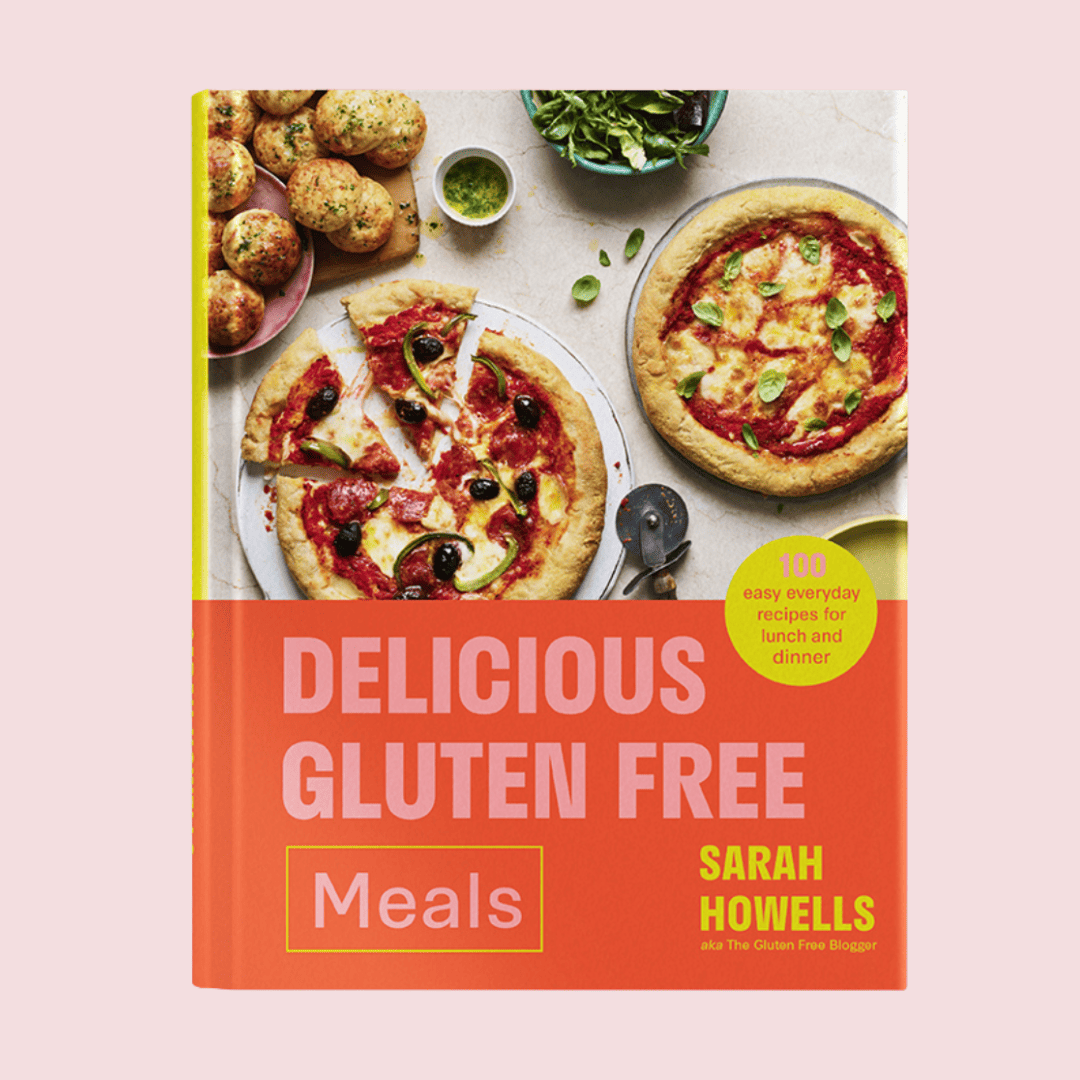
Get my cookbook!
Want more gluten free meals inspiration? My debut cookbook, Delicious Gluten Free Meals, has 100+ gluten free recipes, from breakfast and lunch ideas to dinners, desserts and sides.


Leave feedback about this