


This post may contain affiliate links for which I earn a small commission at no extra cost to you. For more info, check out my Disclosure Policy. Thank you for your support!
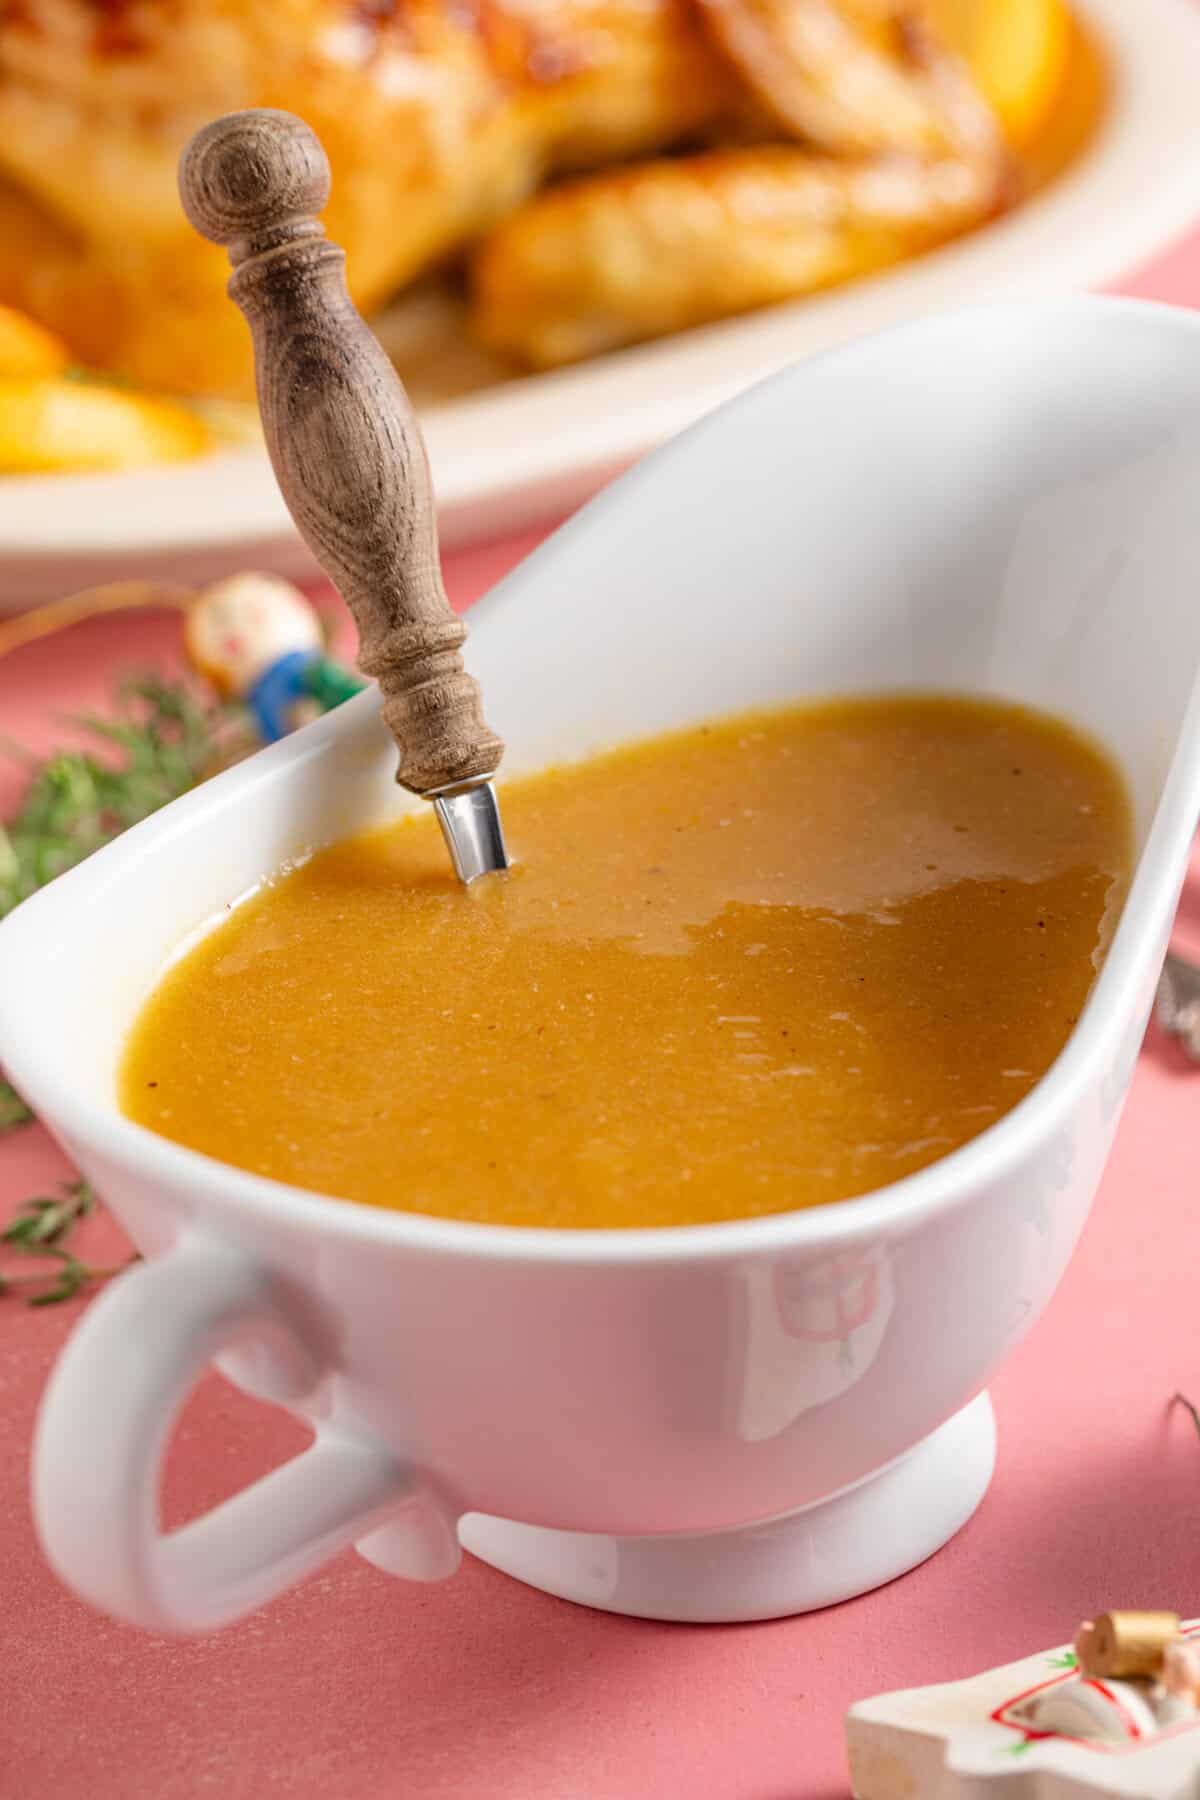
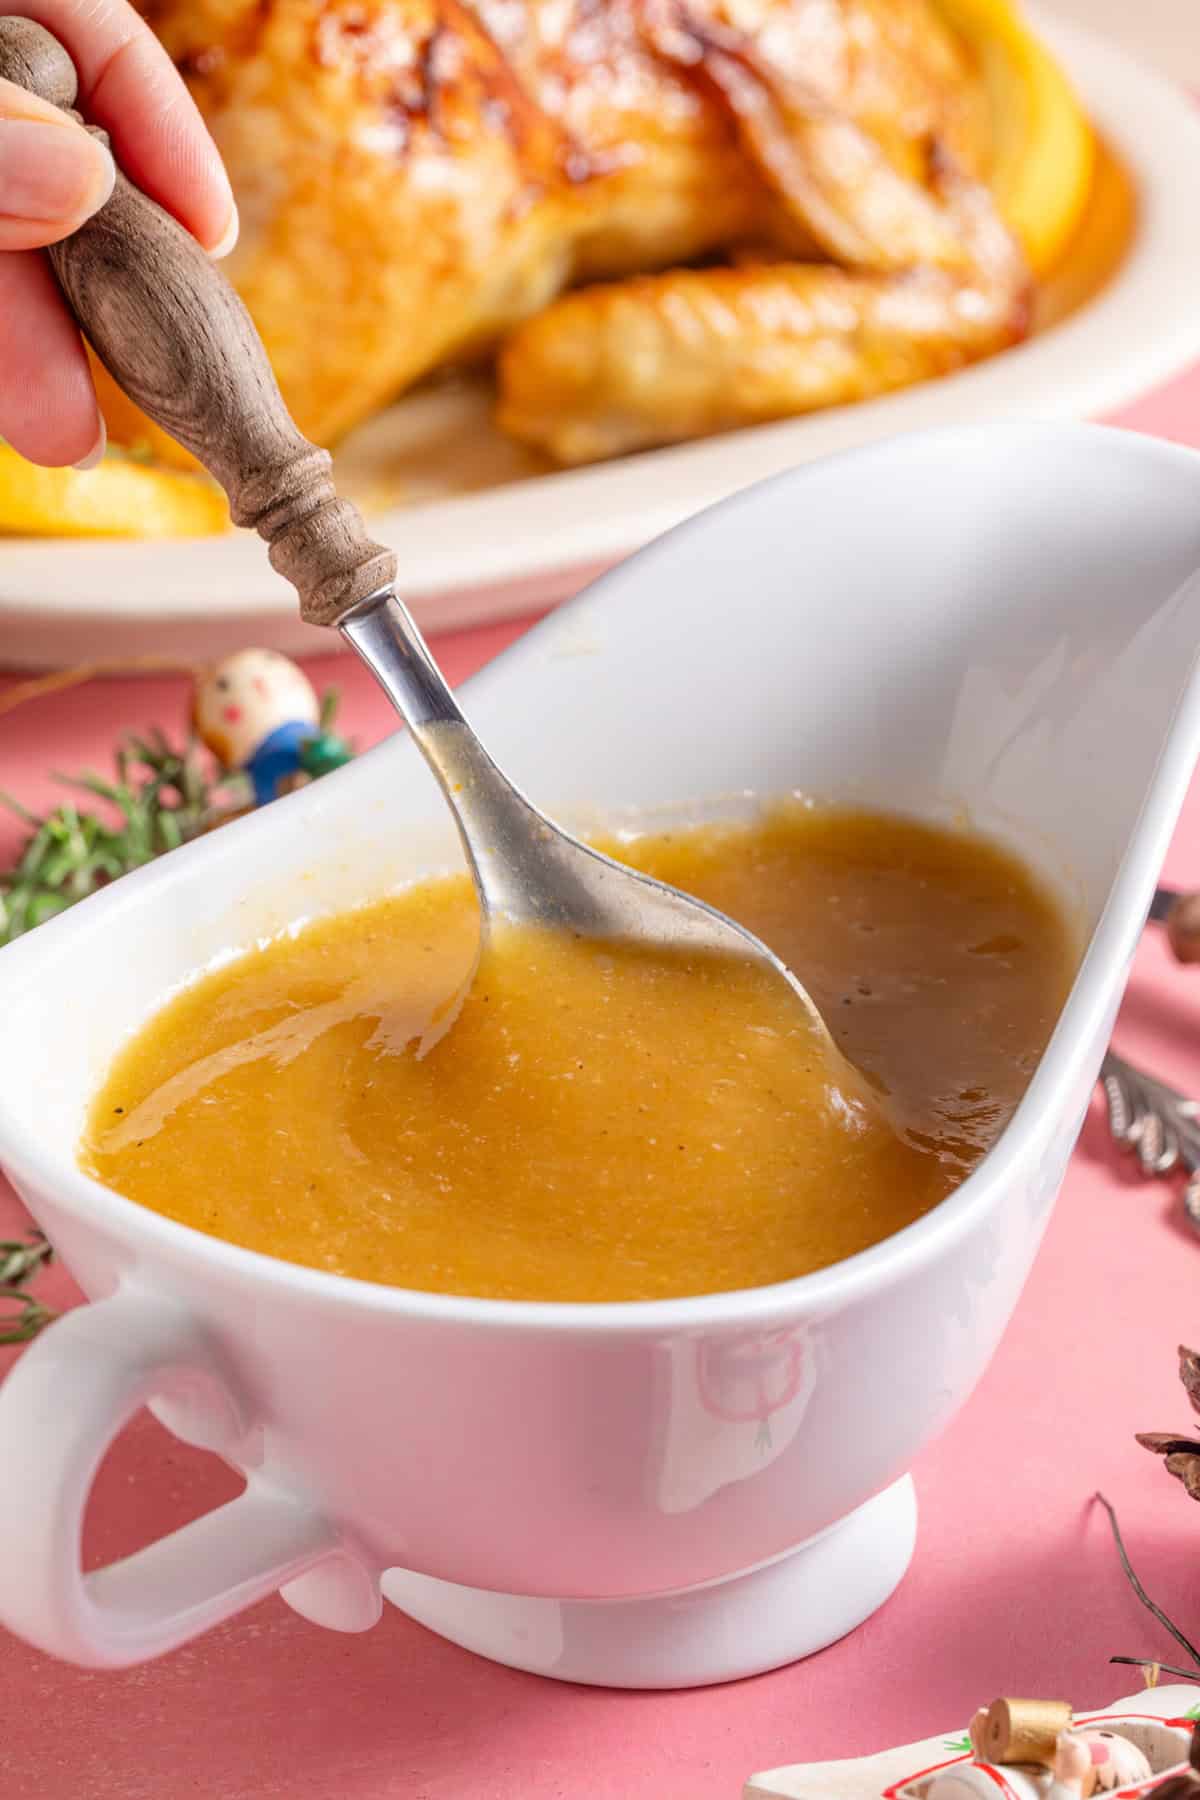
This Gluten Free Make Ahead Gravy is the perfect way to have the BEST, flavour-packed gravy ready for Christmas Day that everyone can enjoy! Make this now and freeze it ready to defrost and add the meat juices on the day. Perfect for any holiday or special occasion.
To me, good gluten free gravy is the make or break for any Sunday roast, Christmas Dinner or Thanksgiving meal. And if you want to really make an impact, you have to get ahead!
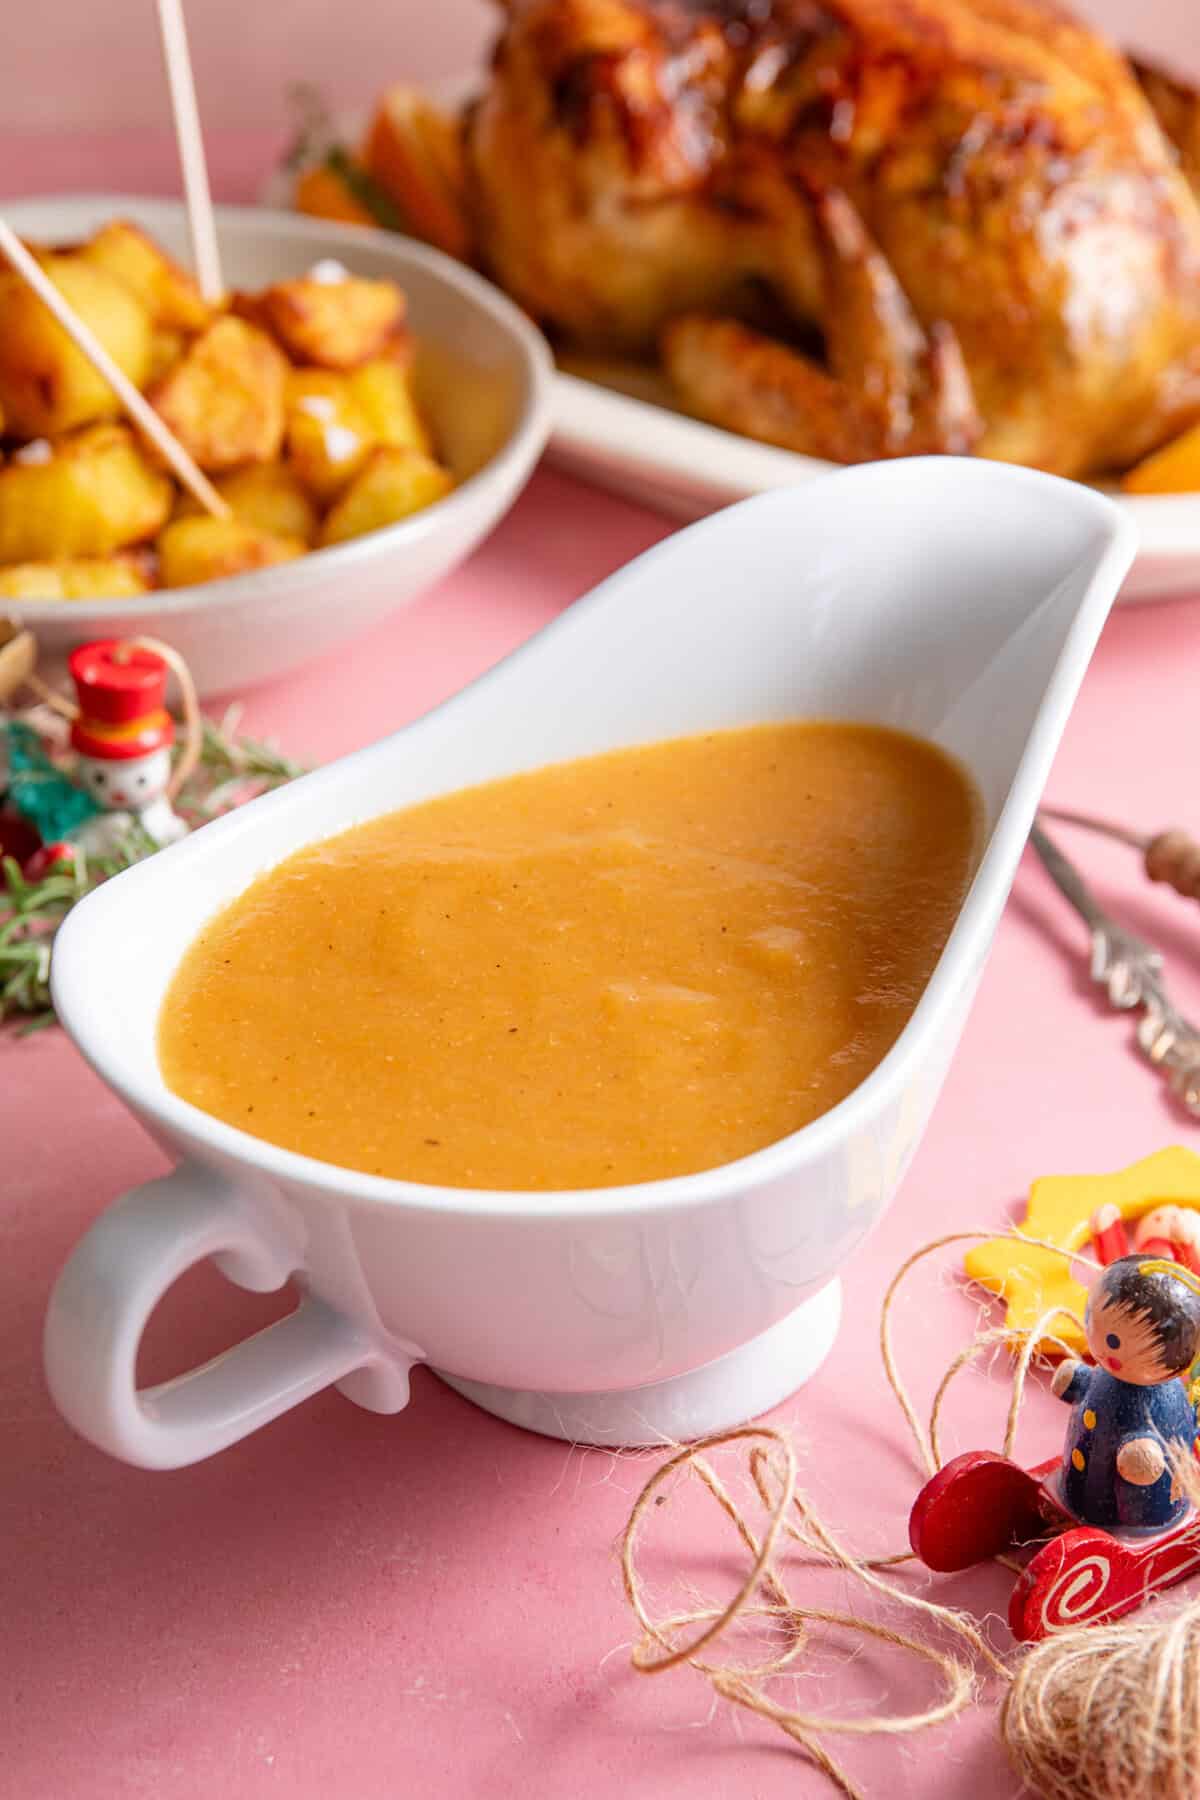
This Get Ahead Gravy is packed with flavour, made by roasting veg, herbs and chicken wings. It uses cheap and easy ingredients to make a gravy packed with flavour.
Serve it up with some of my favourite Christmas Dinner sides, such as Gluten Free Yorkshire Puddings, Crispy Roast Potatoes and Gluten Free Cauliflower Cheese.
This is my gluten free version of the now infamous Jamie Oliver Gravy which you can make it months in advance, freeze it, then defrost and reheat on the day.
Except I’ve converted mine into a simplified, completely gluten free recipe. Make it for everyone and there’ll be no risk of cross contamination during the holidays!
Ingredients and Substitutions
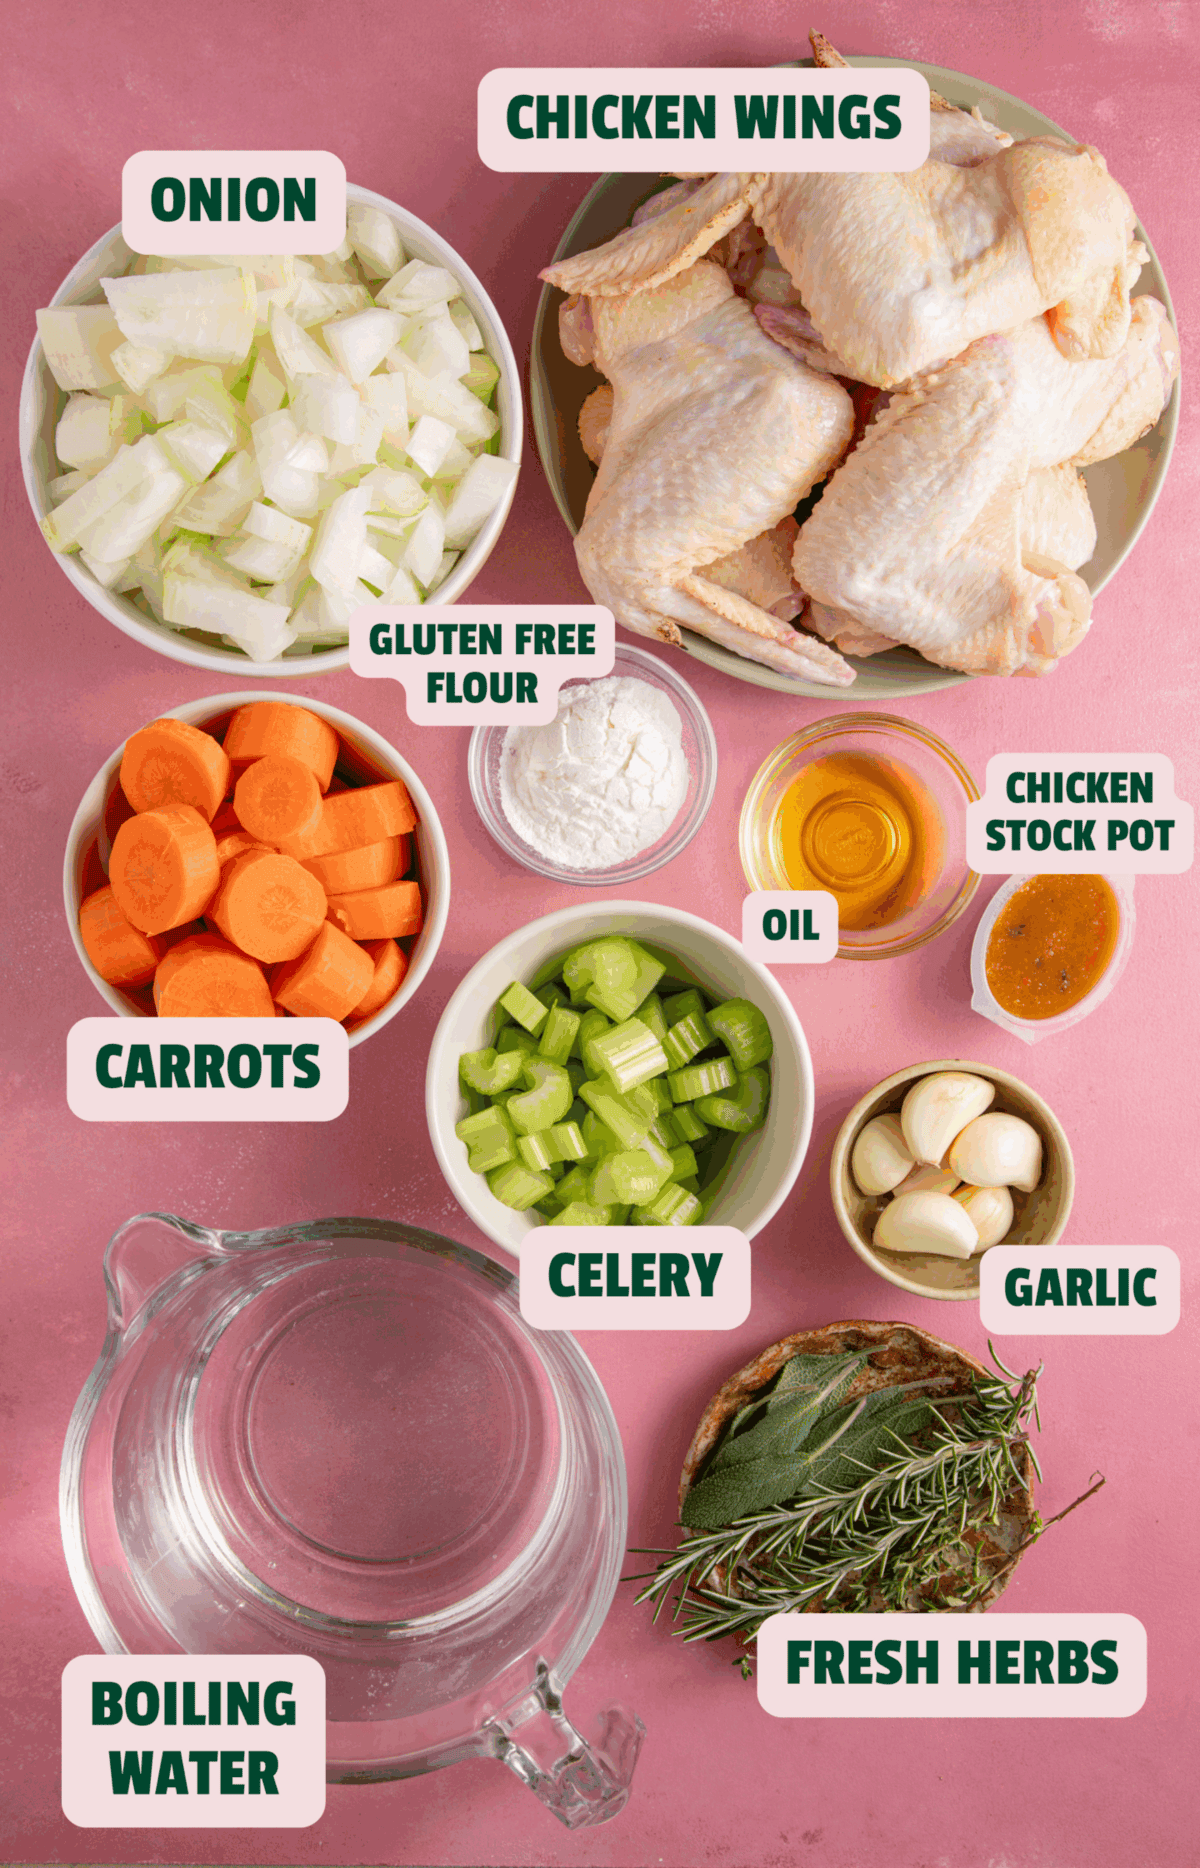
There’s a printable recipe card below for this gluten free gravy with the full quantities. But here are the main ingredients and ideas for any swaps.
- Chicken Wings: These are a super cheap way to get maximum flavour. Use turkey wings if you prefer, though these are harder to find in the UK.
- Carrots: You can use fresh or frozen.
- Celery
- Onion: I use standard, brown onions. White or red onions will work too, or shallots for a gentler flavour.
- Garlic: Whole garlic cloves produced a deeper flavour but you can use chopped garlic.
- Herbs: I prefer using fresh herbs, and use a mixture of rosemary, sage and thyme. You can use dried herbs and mix and match for your preferred flavour combination too.
- Gluten Free Flour: I usually use FREEE Gluten Free Flour as it’s widely available in the UK. Any plain or all purpose gluten free flour will work.
- Chicken Stock Pot: Be sure to use a gluten free stock – I use Knorr. Alternatively, you could use homemade chicken stock in place of the boiling water and stock pot.
How to Make Gluten Free Gravy Ahead of Time
There’s a printable recipe card below with the method. But here are some step-by-step photos to show you how easy this gluten free gravy is to make ahead of time!
How Far Ahead Can I Make This Gravy?
How far ahead you can make this gluten free gravy depends on whether you want to make it fresh, or freeze it:
FOR THE FRIDGE If you like, you can make this gravy 1-2 days ahead of eating and keep it in the fridge. Simply reheat, adding the meat juices from your roast if you like, to serve.
FOR THE FREEZER: To make this gravy further ahead, simply pop it in a freezer-friendly container and freeze for up to 6 months ahead of serving. You can microwave from frozen or defrost overnight in the fridge then reheat in a saucepan.
Gluten Free Gravy Flavour Variations
Want to add a twist to your make ahead gravy for the holidays? Why not try these variations:
- Sherry: Add 100ml sherry to the gravy when adding the stock.
- Port: Adding 100ml of port can give the gravy a sweet twist and darker colour.
- Veg Stock: If you prefer, you can use a gluten free vegetable stock pot instead.
- Cranberry Sauce: 1-2 tbsp cranberry sauce can add a lovely sweetness.
Frequently Asked Questions
Here are some FAQs about this easy, gluten free make ahead gravy recipe. If you can’t find the answer to your question here or in the post above, please comment and I’ll try answer!
The best thing about this recipe is that you can make it months in advance. Technically you could be making this Christmas gravy in the summer months – it’ll easily keep for 6 months or more in the freezer. If you’re not freezing it, I recommend making it no more than 48 hours in advance.
If you’ve made the gravy and it’s not thick enough, you can thicken it with cornflour. Make a slurry (1 tbsp cornflour + 1-2 tbsp cold water mixed well) and add this to the gravy. Simmer, stirring well, until it thickens.
Personally I like the spoon to stand up in my gravy! But if you want it thinner, simply add a little extra water until it reaches your desired consistency.
Straining the gravy through a fine sieve should get rid of any lumps. However, if you still have lumpy gravy you can use a stick blender to blitz it until smooth.
Prevent your screen from going dark
Preheat the oven to 200C / 180C Fan / Gas Mark 6. Drizzle the olive oil into a large roasting tin, then add the carrots, celery, onions, herbs, garlic cloves, and a generous sprinkle of black pepper. Toss together.
Roast for 1 hour, tossing halfway. The chicken wings should be browning and the veg soft.
Remove the tin from the oven, then EITHER place the roasting tin onto a hob on a low heat OR (if you don’t have a hob-safe tin) decant everything into a large pan, really scraping everything from the bottom of the tin.
Using a potato masher, mash everything down into the pan. You want to really smash the chicken wings and veg to get all those flavours out!
Sprinkle the gluten free flour into the pan, then mix everything together well. Pour over the boiling water and add the chicken stock pot. Mix well and bring to the boil.
Lower down to a simmer, and leave to simmer (uncovered) for 20-30 minutes until thickened. Stir occasionally, being sure to keep scraping the bottom of the pan for that extra flavour.
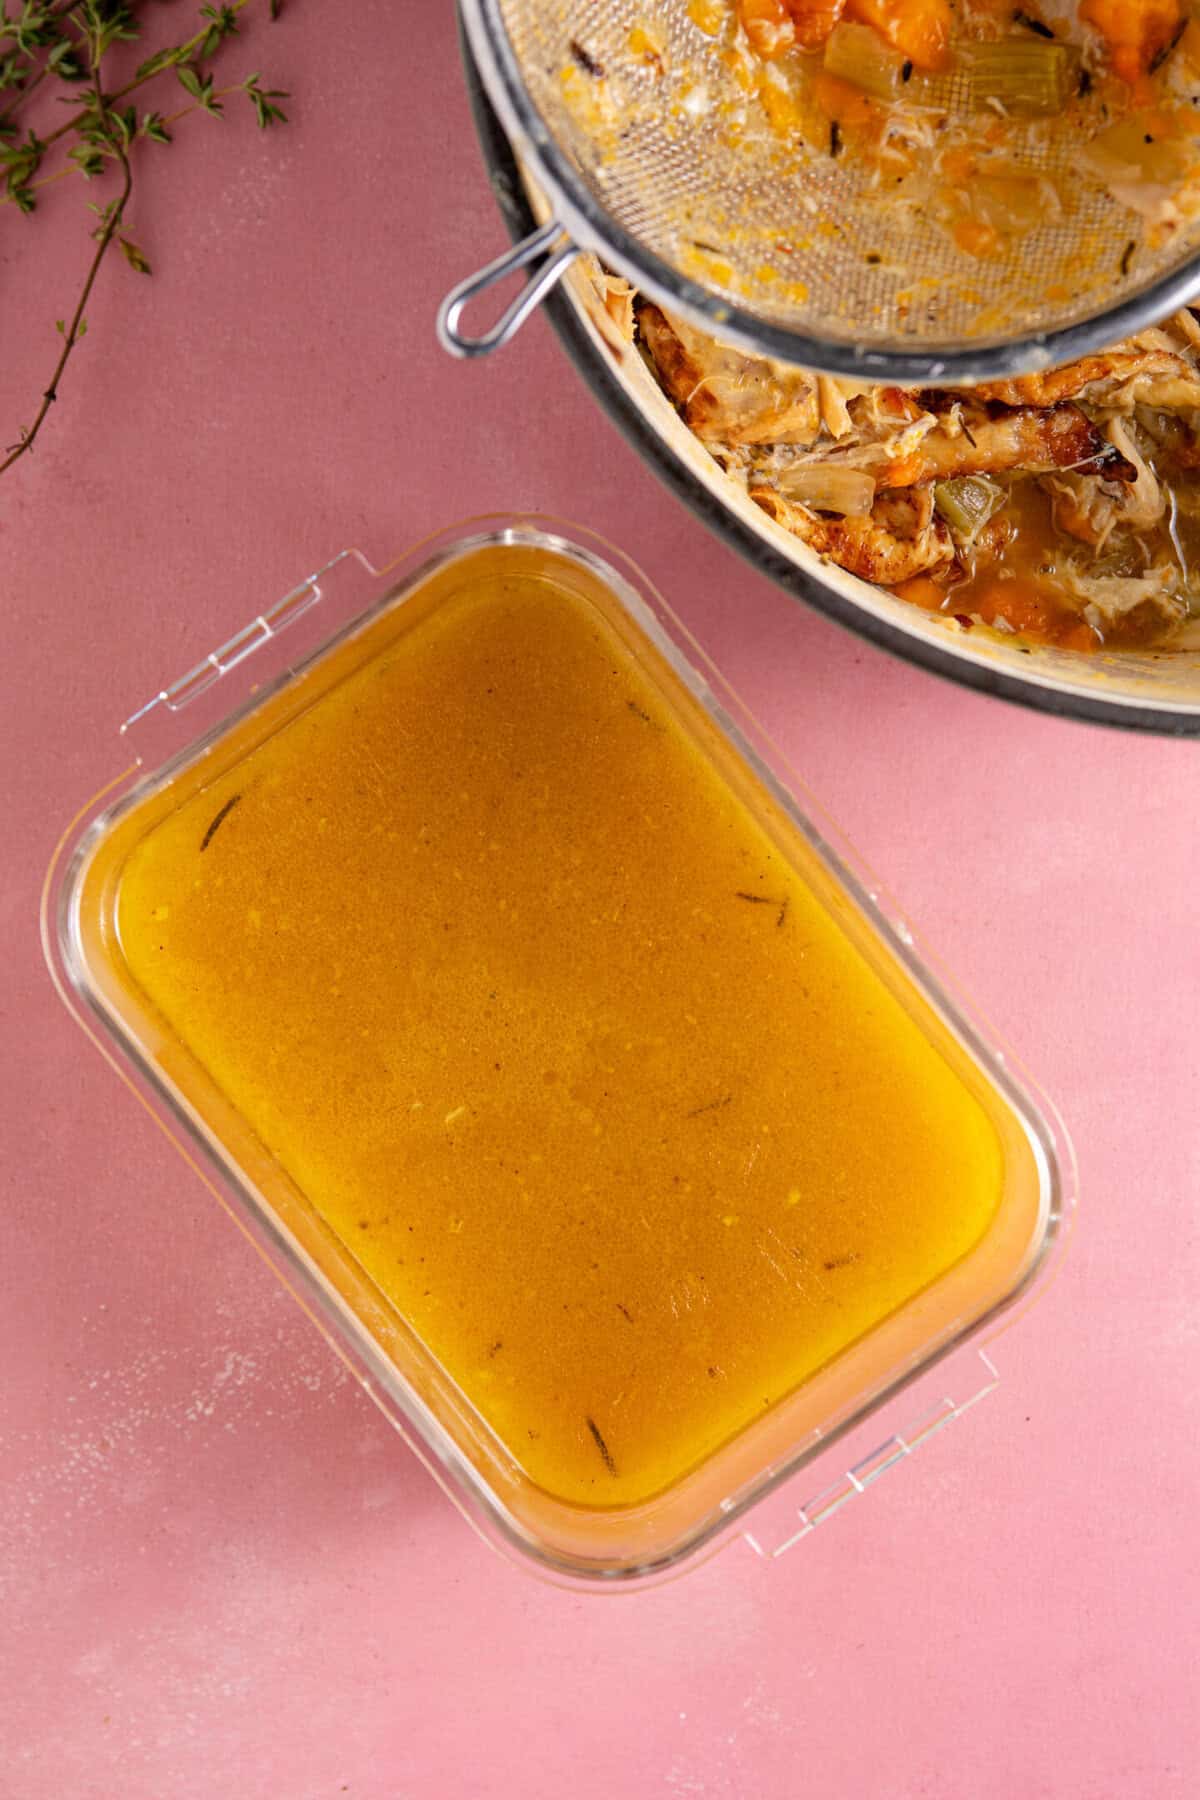
Remove from the heat. Pour the gravy through a coarse sieve, being sure to squish down the veg and chicken with a fork to get all the last bits of flavour out!
Discard the meat, veg, bones and herbs and pour the gravy into a freezer-proof container. Skim the fat from the top (I either pop a metal ladle in the freezer for an hour then use this so the fat solidifies on contact, or pop the whole thing in the fridge for a few hours then scrape the solid fat from the top) before freezing.
To Serve:
Reheat the gravy in the microwave or in a pan. Optionally, add the meat juices from your roast dinner for even bigger flavours, before serving.
You can eat the gravy straight away, or freeze it for up to 6 months ready for Christmas or Thanksgiving. Defrost 24 hours in advance and then reheat to serve – you can even add the juices from your turkey or chicken before serving for extra flavour!
Serving: 1 portion | Calories: 385kcal | Carbohydrates: 12g | Protein: 26g | Fat: 25g
More Roast Dinner Side Dishes
If you like this easy Get Ahead Gravy recipe then make sure you check out these other gluten free roast dinner staples to serve alongside it:
If you want more gluten free gravy options, check out my easy gluten free gravy which can be made quickly after roasting a meat joint, or my easy vegan miso gravy which is SO tasty.
Have you tried this recipe?
I have a huge favour to ask! It’s getting more and more difficult to get my recipes out there to the world – so if you try this and love it, it would mean a HUGE amount if you’d come back and leave a ⭐️⭐️⭐️⭐️⭐️ review and a little comment telling me what you thought! Just 30 seconds of your time would be such a huge support! 💛
Want to connect further?
Get my cookbook!
Want more gluten free meals inspiration? My debut cookbook, Delicious Gluten Free Meals, has 100+ gluten free recipes, from breakfast and lunch ideas to dinners, desserts and sides.


Leave feedback about this